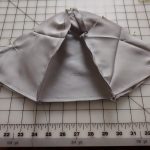
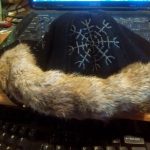
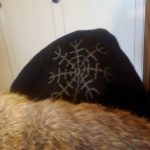
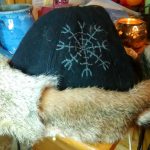
This is my tutorial on how to make a Viking Hat. Most heads fit a standard pattern. You can use whatever fabrics you prefer. Most of my hats are wool with rabbit fur trim. The hat in the pictures has a satin lining as there was extensive embroidery on the hat that needed covering.
Suppplies:
1/2 yard of fabric (same amount of lining)
Embroidery floss. Pearl cotton works well as it is heavy enough to not get lost in the wool.
Fur, faux fur, braid or ribbon. (once again, your choice)
Measurements:
Measure from ear to ear up over the top of the head. This gives you the crown measure. Then measure the head horizontally from just at the top of the ears, across the top of the eyebrows and around. For example, Dan measured 13.5 and 23.5
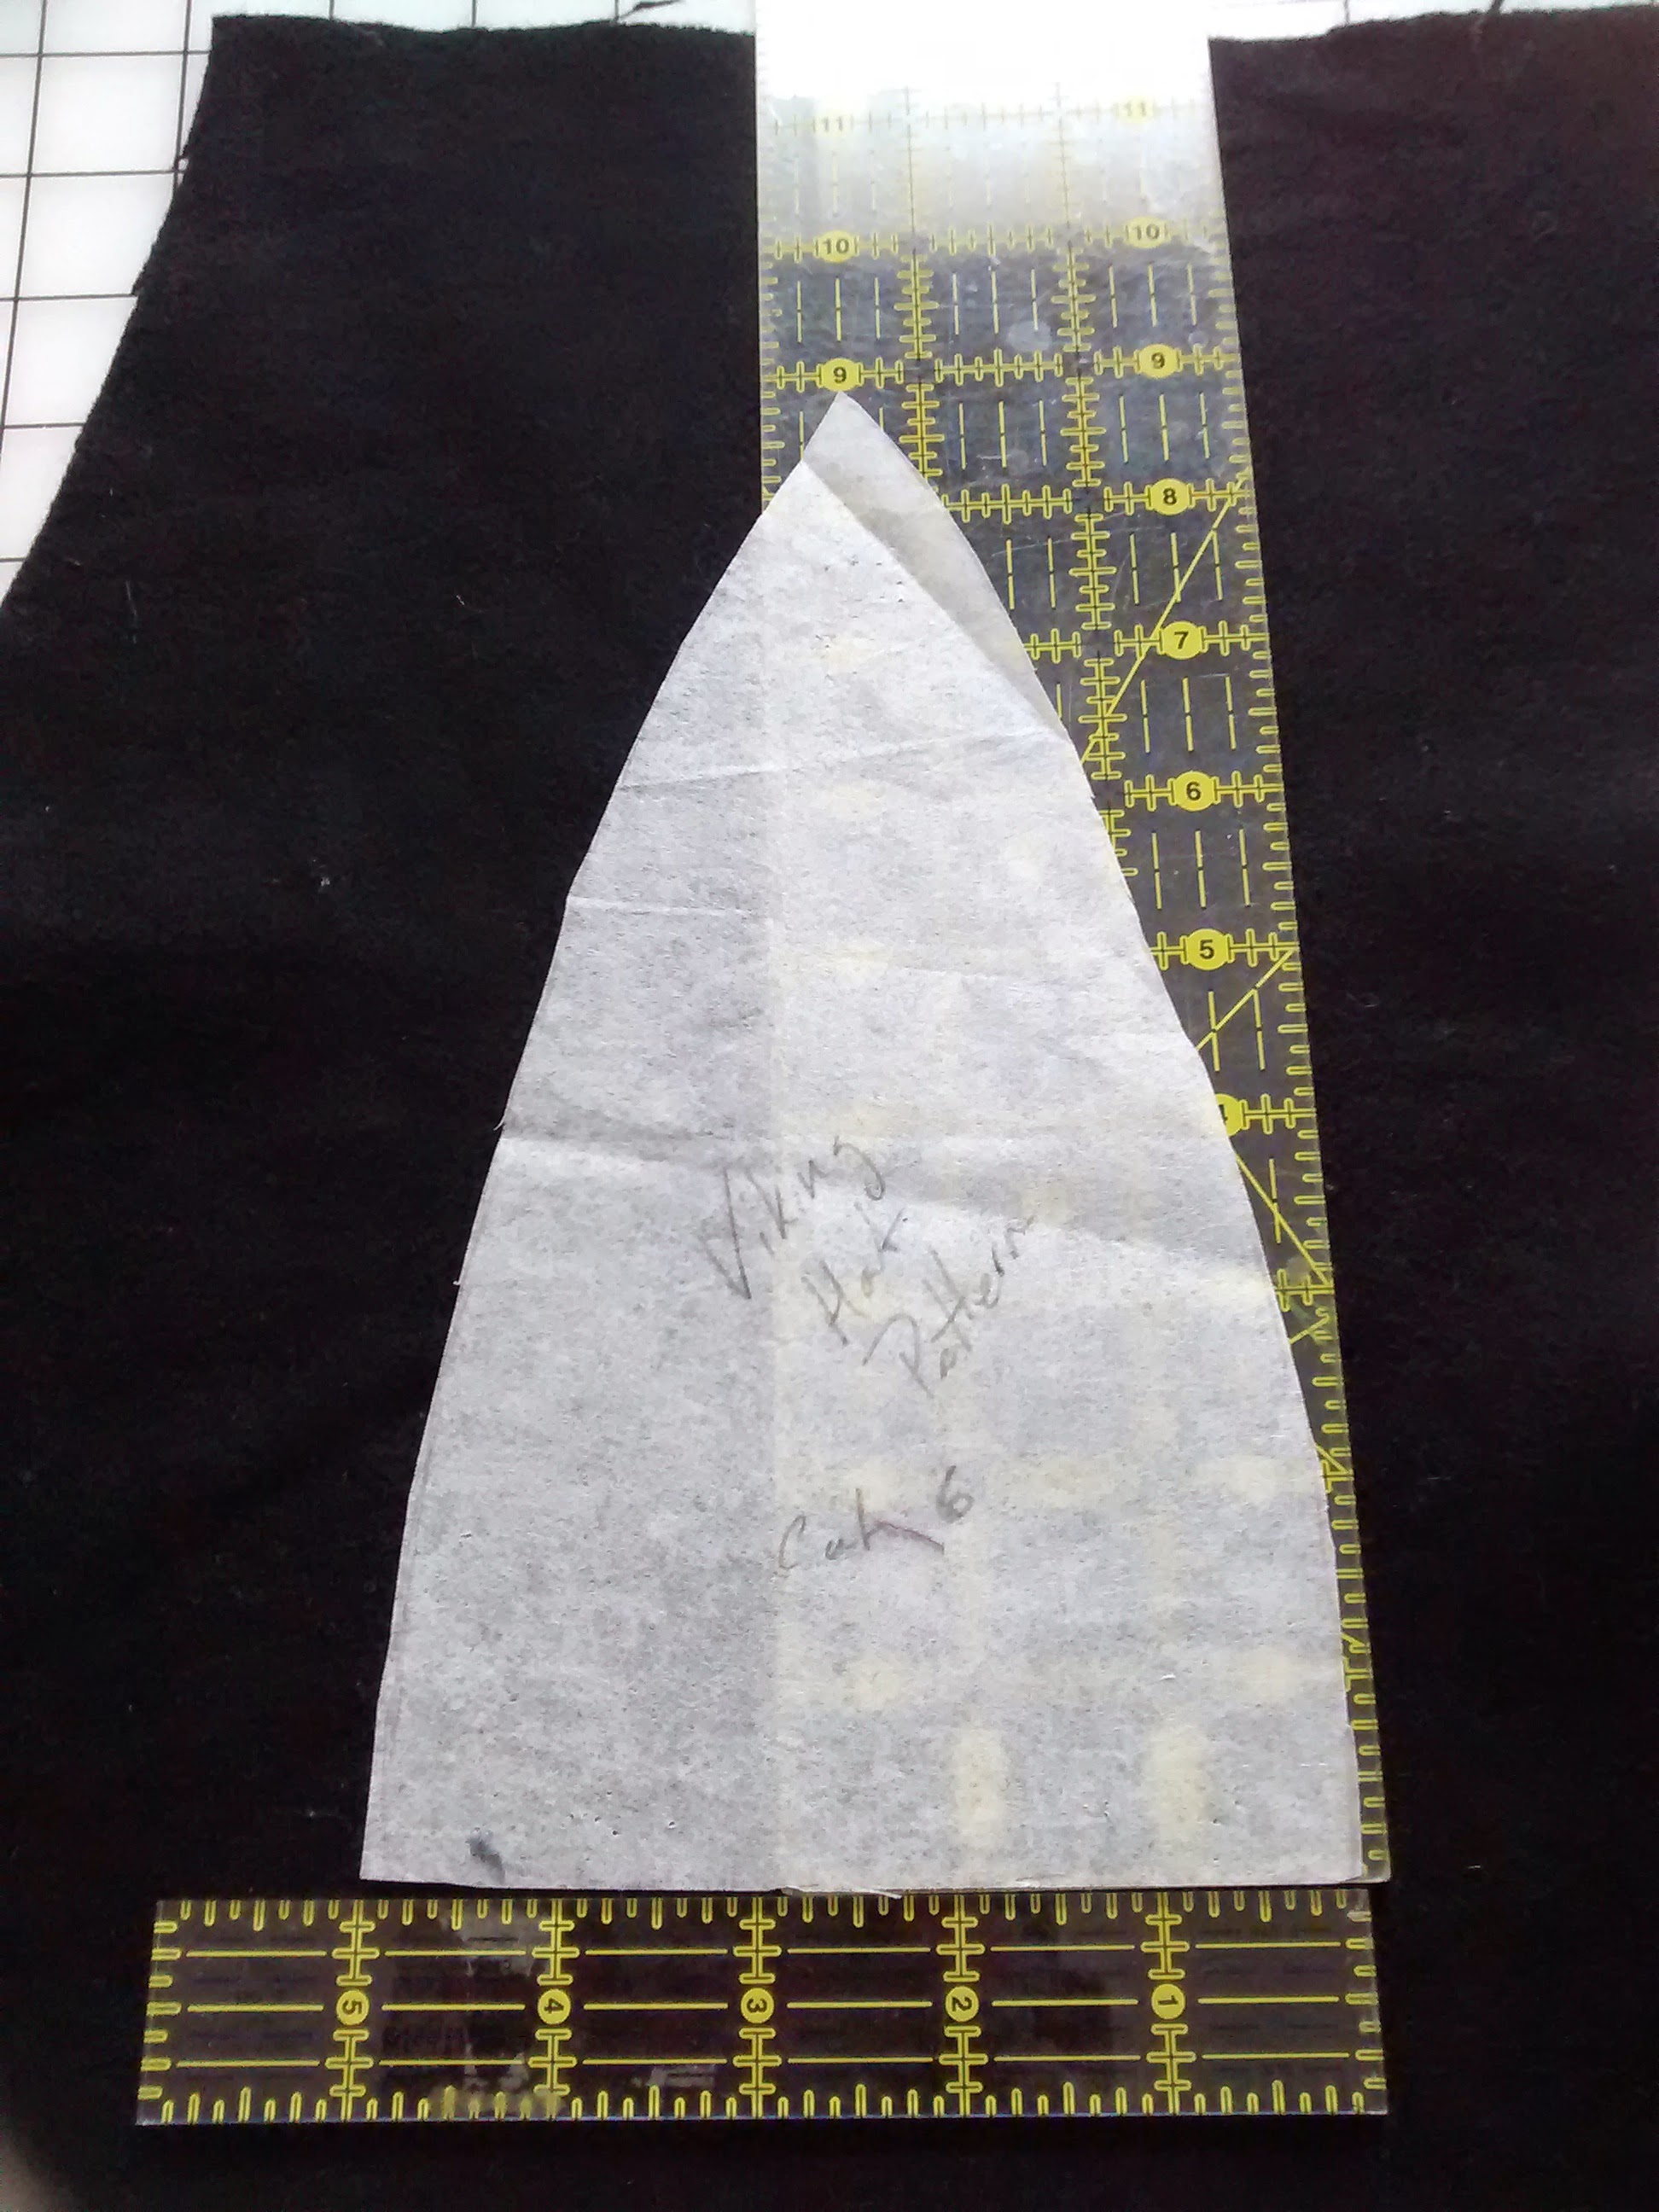
Next, the tricky part. You divide the head measurement into 6ths, and then add enough for a 1/2 inch seam allowance. On an adult hat, this is about 5.5 inches per hat section. From the middle up, you make that bit 9 inches long. Thing to remember is that you need ‘ease’. This is so that the hat fits, but doesn’t constrict. So, if your head is 23.5 inches around, 24 inches finished is good.
This is a gothic window shaped piece. This particular one is approximately 5.5 inches wide across the base by 9 inches tall. The width and height can be adjusted to fit the person.
Construction:
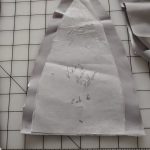
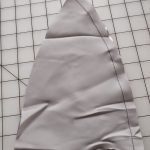
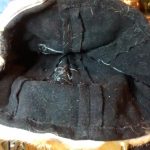
Once you have cut your fabric, begin sewing. Sew two pieces together and then add the third, so that you have 1/2 of the hat sewn. Repeat. Then sew the two halves together. Test fit this on the person. You should have a generous finger width between you and the hat. Check the bottom seam for fit with a 1/2 to 5/8th hem. If the hat’s fit is too loose, adjust the side seams now.
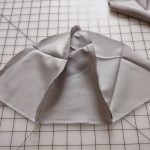
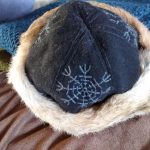
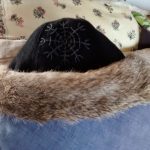
Open the seams flat. From the outside, sew down all the seams. This can be done with embroidery. The middle top will be a pig, but don’t worry. You can trim some of the fabric back, taking care not to cut too much. This is when the hat gets any decorative stitching.
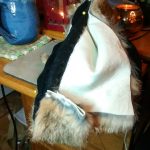
Once the embroidery is done, it is time to attach the fur. Cut 3 or 4 inch wide by 12 inch long strips of fur. Make sure you cut enough to wrap around the brim of the hat. One rabbit skin will do a brim 3 inches wide. A second skin may be needed for a wider brim. Sew two strips of fur together at one end. Make sure you trim back the hair carefully, and leave a long bit to cover the seam. Do not sew the other ends together at this time.
Attach the fur and hat right sides together with the edge of the fur at the top of the hem seam. I hand sewed it in place. When you have reached the beginning of the fur, overlap the end and nest one end inside the other after you’ve adjusted the length. Stitch the leather underneath together and fold the leather back over. This overlap will lay much flatter than a seam. Then roll the fur over and stitch it right to the very edge of the hem. Work from the beginning towards the overlap. When you are done, this will make the fur stand up off of the hat. If fur has caught in the stitches, pull it loose with a pin or needle.

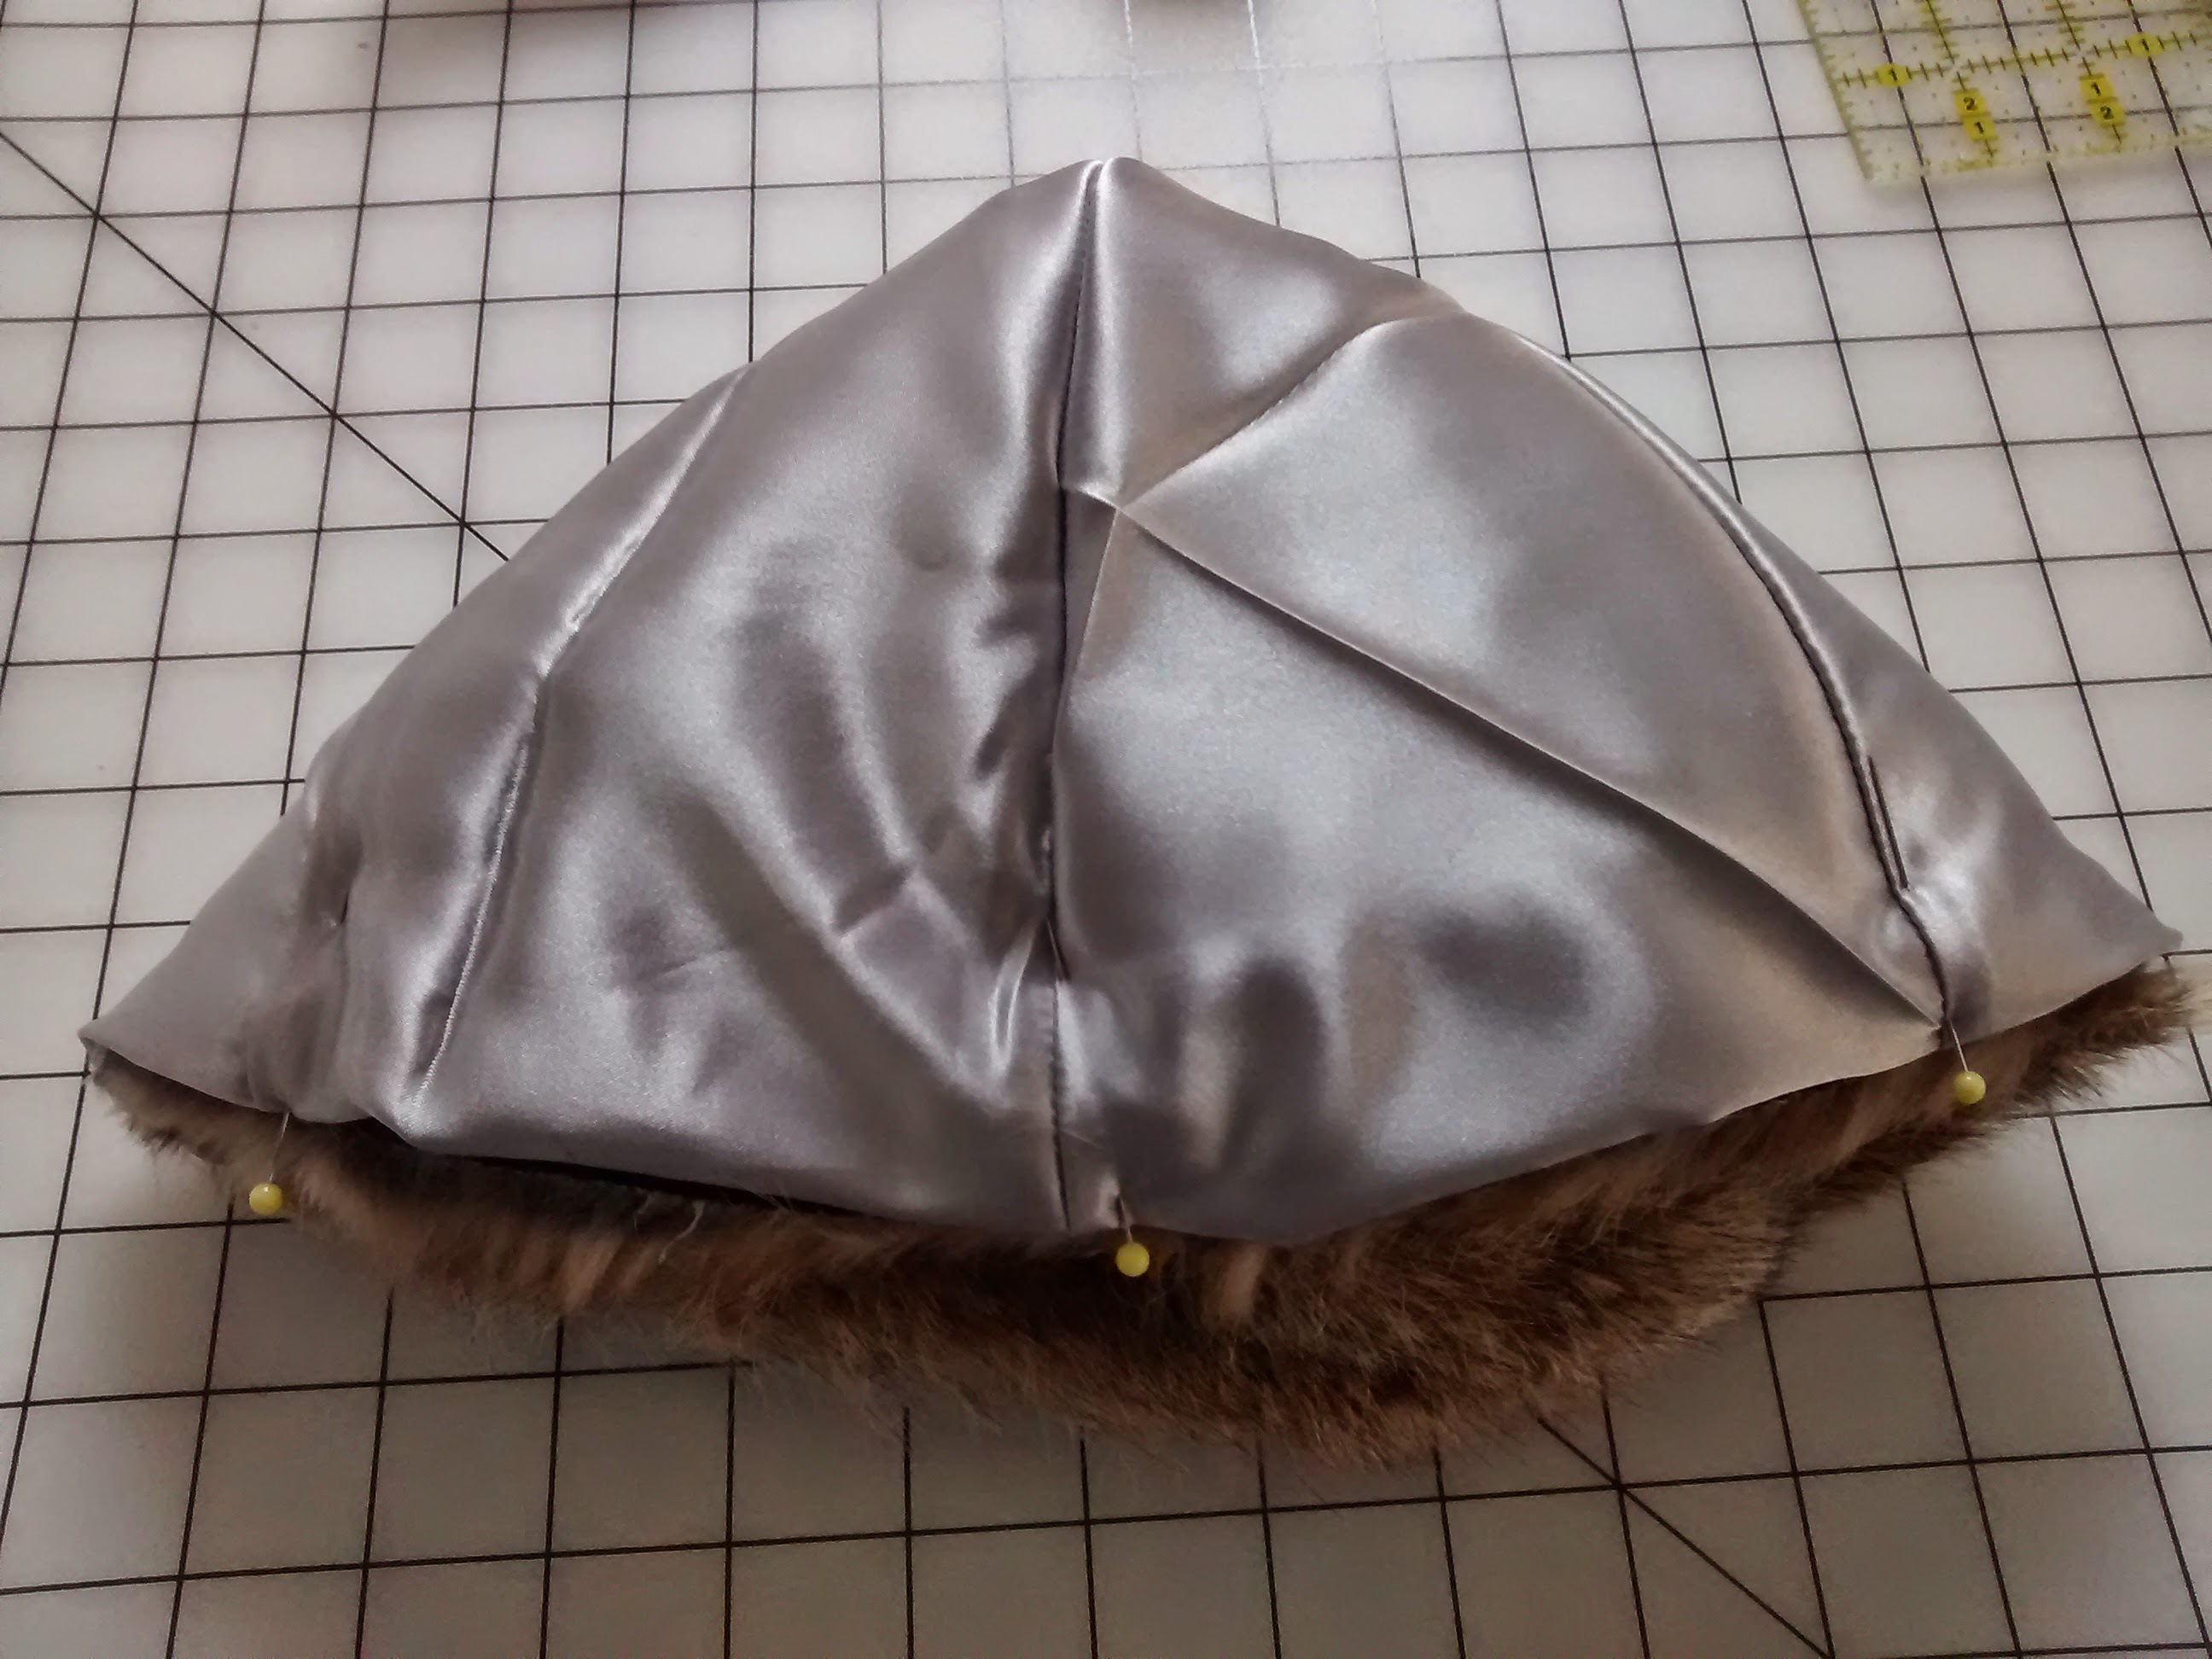
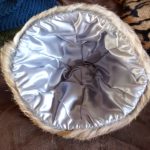
Lining:
Sew the lining in the same manner you did the hat. Place it over the hat, with the main seam matching. Tack the lining along this seam. Pin in place and move it over the rest of the hat until it reaches the edge. Pin the lining in place, lining up the seams. Hand stitch in place to the very edge of the fur trim.
When you are finished, turn the hat right side up. The lining may be a tad loose. If so, either adjust the hem, or pull it up into the hat and tack it. When the hat is worn for the first time, dampen the lining slightly and make sure it “sits correctly. Do not try to iron it as the fur will singe.
If you need to clean the hat, sponge any dirt off and dry over a head shaped form. A soft brush will also clean off dirt.
One thought on “How to construct a Viking Hat.”